
With the rise of 3D printing technology, enthusiasts and hobbyists have found innovative ways to create personalized items from digital designs. One fascinating avenue is crafting 3D printed keychains from SVG (Scalable Vector Graphics) files. In this article, we delve into the process of transforming SVG files into unique and customized keychains, offering insights into the tools, materials, and techniques involved.
Contents
What is an SVG File?
Scalable Vector Graphics (SVG) is an XML-based vector image format for two-dimensional graphics with support for interactivity and animation. The SVG specification is an open standard developed by the World Wide Web Consortium (W3C) since 1999.
Vector graphics are different from raster graphics (such as JPEG, PNG, and GIF) in that they are composed of mathematical equations rather than pixels. This means that vector graphics can be scaled to any size without losing quality, whereas raster graphics will become pixelated or blurry when resized.
SVG is widely supported by modern web browsers and can be used to create a variety of graphics, including charts, diagrams, maps, and even animations. It is often used as an alternative to traditional image formats like JPEG and PNG for web graphics, because it offers some advantages such as smaller file sizes, better scalability, and improved accessibility.
Rohan – Graphic Designer at Shutterstock
How to Crafting 3D Printed Keychains from SVG Files?
Choosing the Design
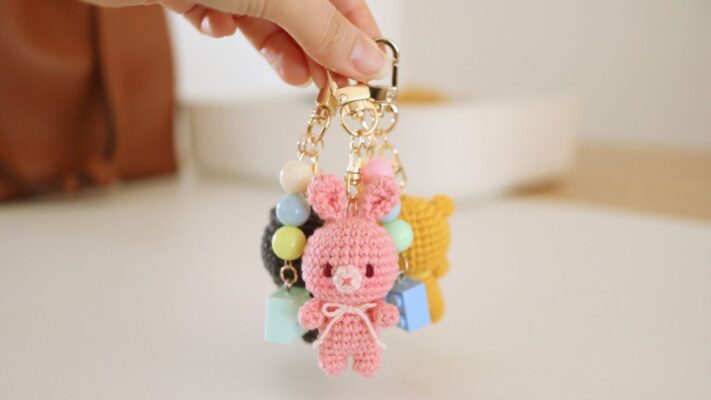
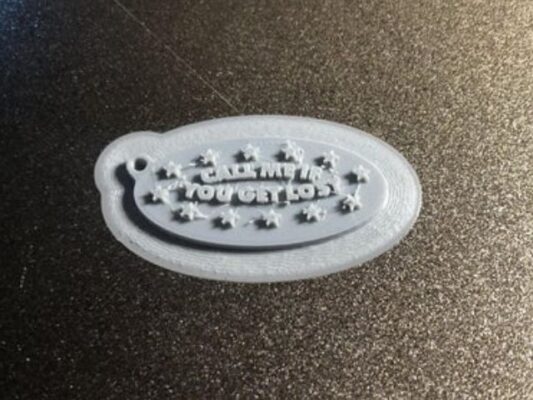
The first step in creating 3D printed keychains from SVG files is selecting the design. SVG files are versatile vector graphics that can be easily manipulated and resized without losing quality. Keychains offer a perfect canvas for expressing personal interests, hobbies, or sentiments. Whether it’s a favorite character, a meaningful symbol, or a custom logo, the design possibilities are endless.

Software and Preparation
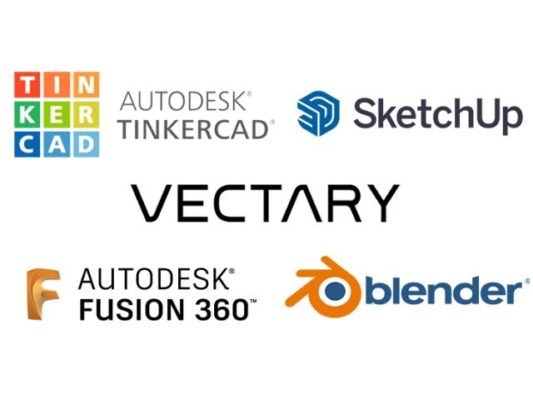
Once the design is chosen, it’s time to prepare the SVG file for 3D printing. Various software tools, such as Tinkercad, Fusion 360, or Blender, can be used to import and manipulate SVG files. These programs allow users to extrude, scale, and modify the design to suit the desired dimensions and aesthetics of the keychain. Additionally, the design may need to be converted into a 3D printable format, such as STL (Stereolithography) or OBJ (Object), using the software’s export functions.
Customization and Personalization
One of the advantages of crafting 3D printed keychains from SVG files is the ability to customize and personalize the design. Users can add text, images, or embellishments to enhance the visual appeal of the keychain. This customization opens up opportunities for creating unique gifts, promotional items, or merchandise tailored to specific themes or events. Whether it’s engraving a name, adding a memorable date, or incorporating intricate details, the keychain can be transformed into a meaningful keepsake.

Material Selection
Choosing the right material is crucial for achieving the desired look and durability of the 3D printed keychain. Common materials for 3D printing include PLA (Polylactic Acid), ABS (Acrylonitrile Butadiene Styrene), PETG (Polyethylene Terephthalate Glycol), and resin. Each material has its own characteristics in terms of strength, flexibility, and finish. For keychains, PLA is often preferred due to its ease of printing, wide range of colors, and biodegradability.
Printing Process
With the design finalized and the material selected, it’s time to start the 3D printing process. Users can either own a 3D printer or utilize online 3D printing services to bring their design to life. When setting up the printer, it’s important to adjust parameters such as layer height, infill density, and print speed to ensure optimal print quality and structural integrity. Depending on the complexity of the design and the chosen material, the printing process may take anywhere from a few hours to several days.
Post-Processing and Finishing
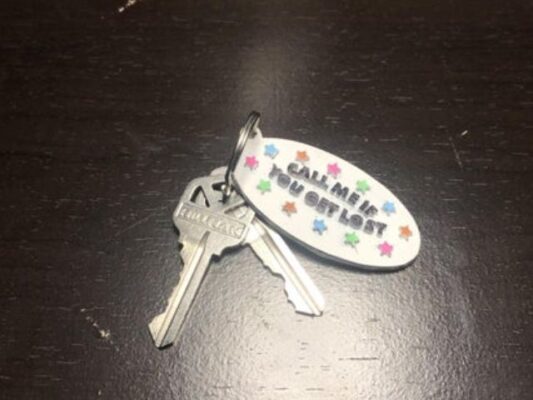
Once the keychain is printed, it may require post-processing to remove any support structures, imperfections, or rough edges. This can be done using tools such as sandpaper, files, or a deburring tool. Additionally, users may choose to apply surface finishes or coatings, such as paint, varnish, or epoxy resin, to enhance the appearance and durability of the keychain. Finally, the keychain can be attached to a keyring or lanyard, ready to be used or gifted.
Crafting 3D printed keychains from SVG files offers a fun and rewarding way to unleash creativity and express individuality. By leveraging digital design tools, materials, and printing technology, enthusiasts can bring their ideas to life in tangible and functional forms. Whether it’s for personal use, gifts, or merchandise, the possibilities are limitless when it comes to creating custom keychains with 3D printing.
Related Posts